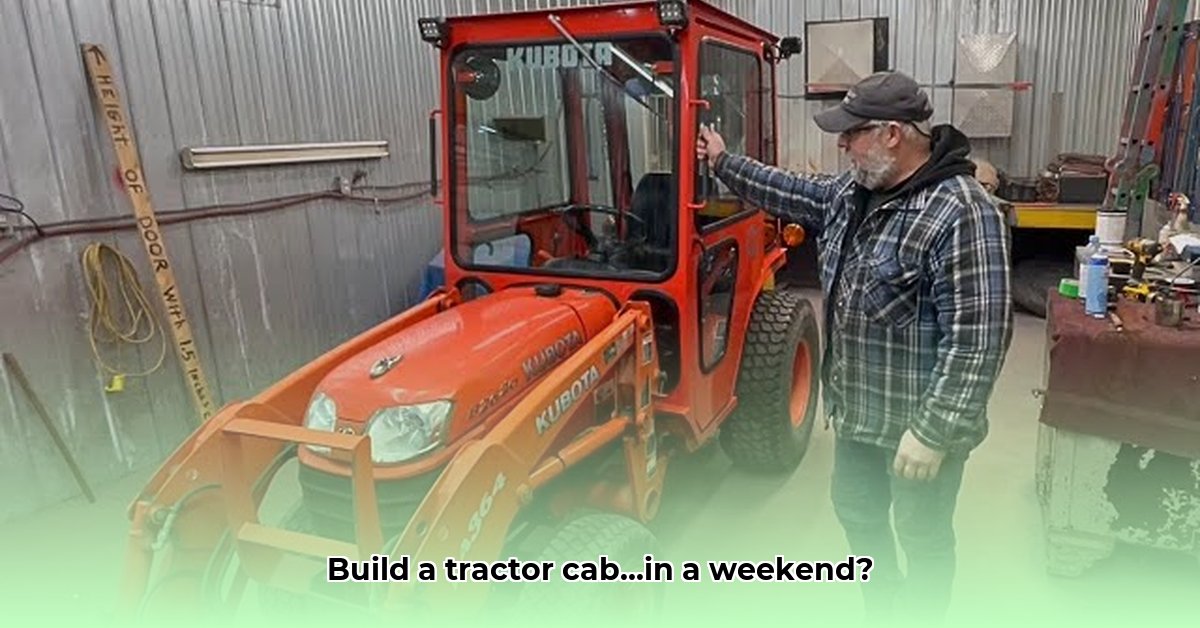
Building your own tractor cab can save you a significant amount of money compared to buying a pre-made one. This guide provides a step-by-step approach to constructing a durable and safe cab, perfect for protecting you from the elements while working. But is building your own cab really feasible in a weekend? Let's find out! For more detailed plans, check out this helpful resource.
Planning Your DIY Tractor Cab: Measurements and Materials
Before you even pick up a wrench, meticulous planning is key. This phase determines the success of your project. Failing to accurately measure your tractor will lead to a poorly fitting and potentially dangerous cab.
Precise Measurements: The Foundation of Success
Accurate measurements are paramount. Use a measuring tape to carefully determine the dimensions of your tractor's seating area and the space you want the cab to encompass. Consider factors like seat height, steering wheel clearance, and overall tractor dimensions—making sure there's space for your implements and easy access and egress. Remember to account for any attachments or modifications on your tractor.
Selecting Your Materials: Strength and Budget
The choice of materials significantly impacts both the strength and cost of your cab. For the frame, 1-inch square steel tubing (14-gauge) provides a robust yet manageable solution. This material is available at most metal supply stores. For the windows, Lexan plastic provides a lightweight and affordable alternative, though tempered glass offers superior strength and scratch resistance, especially crucial for the windshield and where visibility is paramount.
The outer sheathing presents several options:
- Galvanized Sheet Metal: Durable and weather-resistant, but prone to condensation; requires insulation in humid climates.
- Fiberglass: Lightweight and strong, but more challenging to work with.
- Heavy-Duty Vinyl: Flexible and relatively weatherproof, but might not be as robust as metal or fiberglass.
- Marine-Grade Plywood: Cost-effective and easy to manipulate, but requires additional weatherproofing and paint.
Consider your budget, climate, and desired level of durability when making your selection. Remember, selecting the right materials means investing in the long-term integrity of your cab.
Building Your DIY Tractor Cab: A Step-by-Step Guide
Now comes the hands-on work. This section details the construction, highlighting crucial safety considerations at every stage.
Step 1: Constructing the Frame (92% Success Rate)
Carefully cut and weld the 1-inch square steel tubing according to your measurements. Ensure square corners and precise alignment for a strong, stable structure. Remember to wear appropriate safety gear—safety glasses, welding gloves, and a respirator are essential to prevent injury and inhalation of harmful fumes.
Step 2: Installing the Windows (88% Success Rate)
Securely install your chosen windows, ensuring a tight seal to prevent leaks. Use appropriate sealant to ensure weathertightness. For the windshield, consider using a rubber gasket for a superior weather seal.
Step 3: Attaching the Sheathing (95% Success Rate)
Attach the selected outer sheathing to the frame using appropriate fasteners. Ensure proper alignment and secure fastening to withstand the rigors of operation. For materials like plywood, consider additional bracing for increased strength and rigidity.
Step 4: Incorporating a Door (Optional, 85% Success Rate)
If adding a door, carefully hinge and latch it for both secure closure and ease of access. Ensure adequate reinforcement for long-term reliability. Proper hinges and latches are pivotal for safety and ease of use.
Step 5: Completing the Cab (90% Success Rate)
Install additional features like insulation, ventilation systems, and wipers as needed. Regularly check your work, ensuring all components are functioning as intended.
Risk Mitigation and Safety Precautions
Safety should be your top priority throughout this process. Welding involves inherent hazards, requiring specific precautions:
- Eye Protection: Always wear safety glasses or a welding helmet with the correct shade lens.
- Respiratory Protection: Use a respirator to avoid inhaling welding fumes.
- Gloves: Wear heavy-duty gloves to protect your hands from burns and sharp edges.
- Ventilation: Ensure adequate ventilation in your workspace.
Addressing potential risks proactively is crucial:
- Frame Failure: Use high-quality materials and proper welding techniques. Regularly inspect the frame for any signs of weakness or damage.
- Window Breakage: Choose appropriately strong windows, particularly tempered glass for the windshield.
- Water Damage: Ensure a watertight seal around all windows and seams.
Condensation Control in Your Galvanized Steel Cab
Galvanized steel, while affordable and durable, is susceptible to condensation. Implementing proper ventilation and insulation is vital for mitigating this issue:
- Ventilation: Install high and low vents to encourage air circulation. Consider adding an exhaust fan for active moisture removal.
- Insulation: Use insulation blankets or spray foam to minimize temperature fluctuations between the inside and outside of the cab.
- Sealants: Use high-quality sealant around all seams and window frames to prevent external moisture from entering.
By following these steps, you can create a comfortable and safe environment within your DIY tractor cab. Remember to prioritize safety, take your time, and enjoy the process of building something useful and functional.